A dryer vent is one of those household systems that often goes unnoticed — until it starts causing problems. Due to poor installation, vents may become clogged or damaged. In such cases, the Dryer Vent Rerouting can significantly improve your dryer’s performance, reduce fire hazards, and even save on energy bills. This guide will walk you through everything you need to know about dryer vent rerouting, from understanding why it’s important to following a safe step-by-step installation process.
Understanding Dryer Vent Rerouting
Before you start the process of Dryer Vent Rerouting and disconnecting your vent ducts, it is important to understand the purpose of rerouting. So, the dryer vent rerouting is the process of changing the pathway that your vent takes to exhaust hot air and lint outside your home.
Let’s have a look at the material and tools that we need for dryer vent rerouting:
Common Signs You Need to Reroute
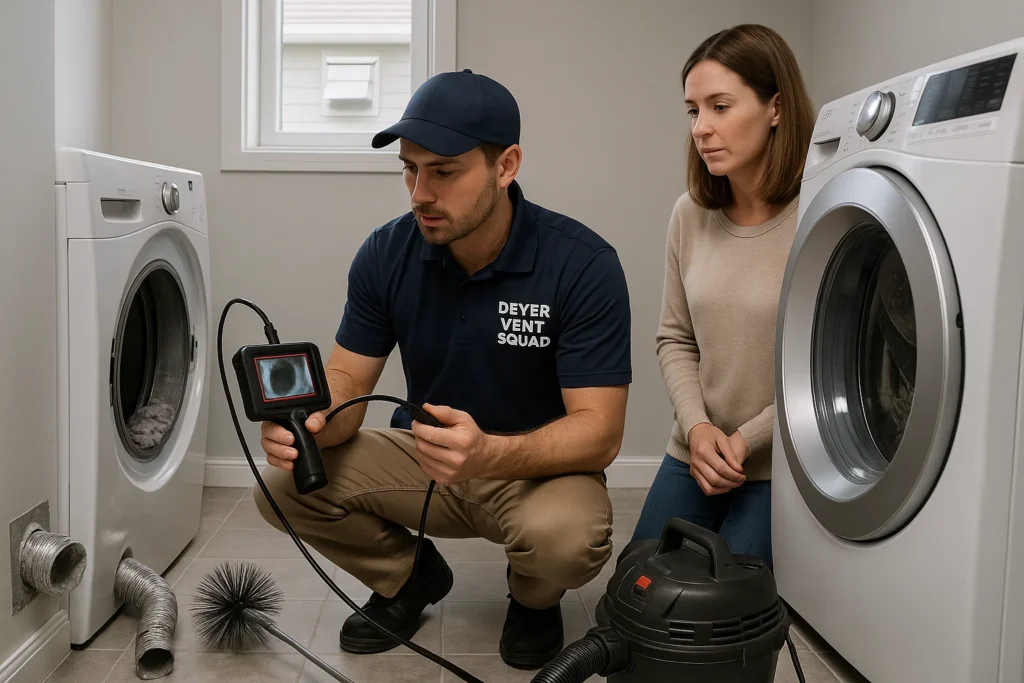
To avoid safety hazards, structural damage, and unnecessary electricity costs, it is important to reroute your dry vent. But, how do we know that we need to reroute our dryer vents?
Below are the common Dryer Vent Rerouting signs that you shouldn’t ignore:
- Clothes take longer than usual to dry.
- The laundry room feels unusually hot and humid.
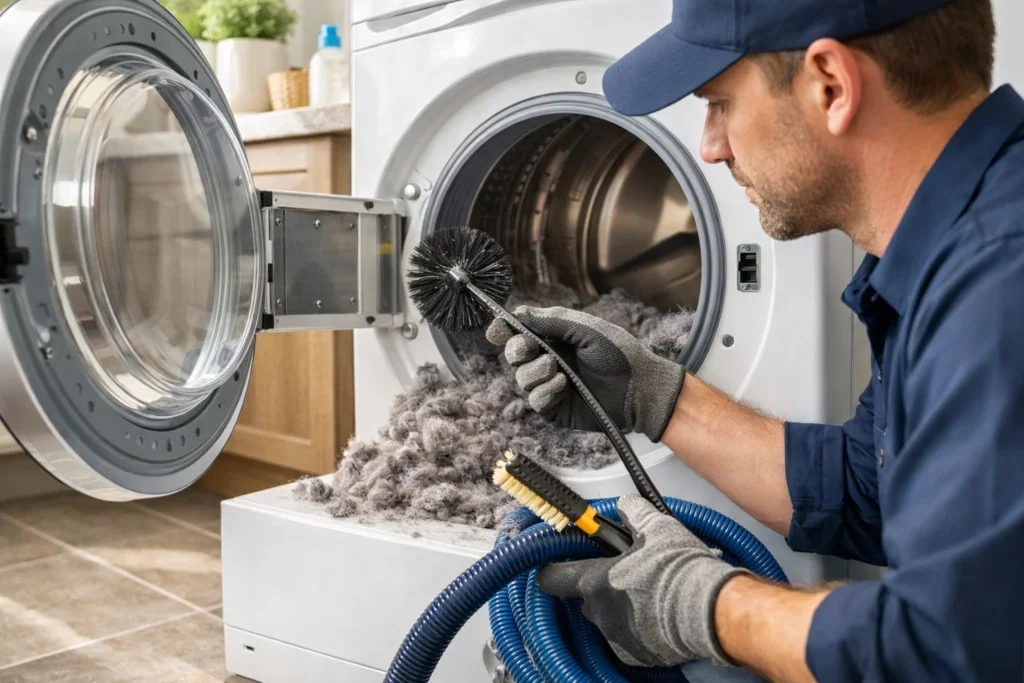
- You notice lint buildup around the vent opening.
- Burning smells or overheating issues occur during drying cycles.
Tools and Materials You’ll Need
To guarantee a seamless and effective installation, gather all required equipment and supplies before beginning the Dryer Vent Rerouting process. The Dryer Vent Rerouting procedure will be simpler and safer if you have the appropriate equipment.
Before disconnecting your vent ducts, gather these tools:
| Dryer vent duct (rigid or semi-rigid metal, not plastic) |
| Vent hood with a damper |
| Dryer vent clamps, Screwdriver, or drill |
| Tin snips or saw (for cutting ducts) |
| Aluminum foil tape (heat-resistant), Measuring tape, and marker |
| Safety gloves and goggles |
Step-by-Step Process for Rerouting a Dryer Vent
Rerouting a dryer vent is an important step for maximizing airflow and efficiency, minimizing the chance of lint build-up, and reducing safety concerns. To get the best results and maintain the best ventilation, there is a systematic way to do it.
The following steps will guide you through the process from planning to completion.
Step 1: Plan the New Vent Path
Planning your new vent path is the first step. You’ll want to plan the most direct and efficient path from your dryer to the outside wall. The shorter and straighter your path is, the better it will function together with your dryer, the less lint will build up in your duct, and more air flow will be produced.
Step 2: Disconnect the Existing Vent
Unplug your dryer, and carefully pull it away from the wall. Detach the connection of the current vent from the dryer. Remove ductwork, and check for faulty or damaged ductwork that has restrictions.
Step 3: Measure and Cut the New Ductwork
Use a measuring tape to measure the duct length for the new route. Mark your measurements clearly and cut the duct using tin snips or a saw. Ensure each section fits securely before final installation.
Step 4: Install the Vent Hood Outside
Choose where you want the duct to exit your house. Cut a hole that is slightly larger than the duct itself. Install the vent hood with a damper, which should be built in. This damper prevents pests, rain, and debris from entering the vent. Seal around the hood to prevent air leaks.
Step 5: Connect and Secure the Ductwork
Attach one end of the duct to the dryer’s exhaust outlet and secure it with a clamp. Connect the remaining duct sections, ensuring they fit tightly together. Use dual-sided tape to secure aluminum foil tape for an airtight seal.
Step 6: Seal the Joints and Test the System
Once all connections are secure, seal the joint with foil tape, which will help you prevent leaking joints. Plug the dryer back in and run a short cycle. Go outside and see whether the air is flowing strongly through the vent hood.
Conclusion
Properly rerouting your dryer vent is an essential investment in safety and efficiency. An important safety feature of installed dryer vents is to reduce fire hazards, but it can also improve airflow and help your dryer perform the best it can and last even longer. With proper tools and some planning, most homeowners can work on this project feeling confident that it is done right and their laundry system can stay safe, efficient, and reliable.
FAQs
Can I reroute my dryer vent myself?
Yes, most homeowners can reroute their dryer vent with proper tools and safety precautions.
How long should a dryer vent be?
Ideally, the vent should be less than 25 feet, with each bend reducing the allowed length.
Can I use PVC or plastic ducts for Dryer Vent Rerouting?
No, only rigid or semi-rigid metal ducts are recommended for safety.